I added the amount of pages I thought I would need for the document, along with facing pages option as they will be designed as a spread. I typed in the dimensions for the crown sized book then set the margins.


I added a larger margin for the inside so that no content would be cut off in the binding process. I then added 4 columns to help create a grid to stick to when designing.

As you can see above I later added horizontal ruler guides worked out by dividing the page up. I also included a master page layout to help me place the letter illustrations and text to the pages. The plan is to alternate the info and photographs from spread to spread which is why the master layout is on both sides. The photographs added will either take up the whole page or it will be split into two.
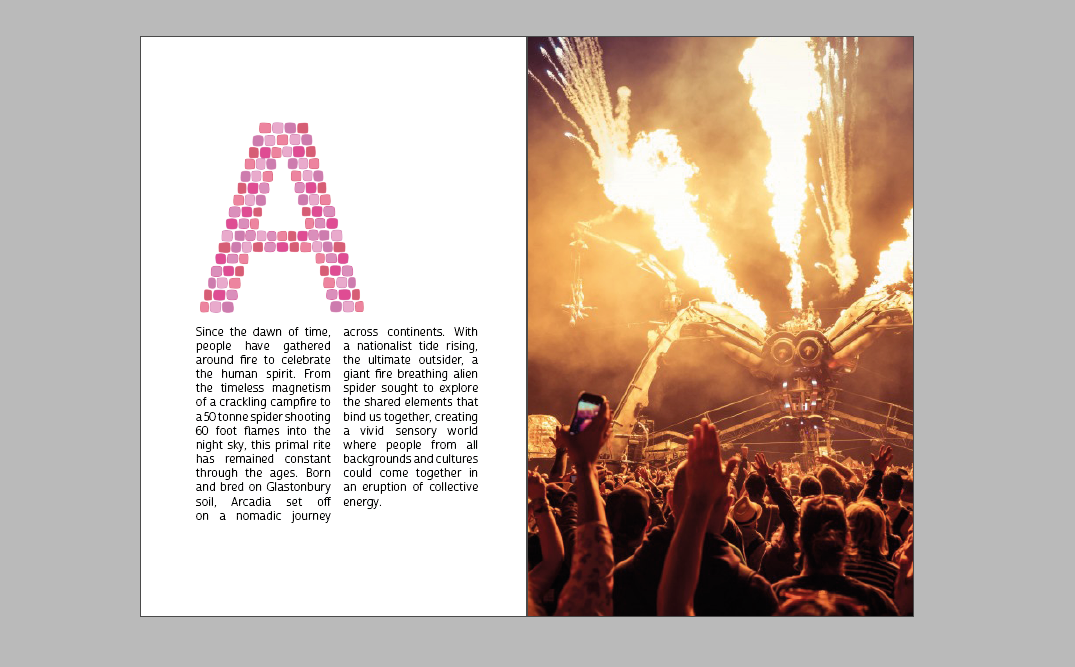


Above is a selection of the layout I have gone with - showing the information on left and right, as well as photographs taking up the whole page/ two photos. I am happy with the layout of the photographs however i am going to reconsider the layout of the letters and information as it doesn't look right just yet.
No comments:
Post a Comment