Saddle Stitch:
Advantages of Saddle Stitching
- Least expensive of all binding options
- Fast
- Widely available, as most printers saddle stitch in-house
- Lies relatively flat
- Special gatefolds and foldouts are possible
- Can use a self-cover or a separate cover
Limitations of Saddle Stitching
- Longevity. The wire stitching takes its toll on the paper and is not recommended for pieces intended for heavy use.
- Limited amount of paper variations within the piece. For example, if you are stitching two 16-page forms together to create a 32-page self-cover brochure, and you want pages 3 and 4 to be red paper, then pages 1 though 8 and 25 through 32 will also be red paper. (There are other ways of configuring this 32-page brochure of course, but the idea here is that what happens on the front side of that form will also affect the back side of the form.)
- No printable spine
- Thickness limitations. Documents thicker than .125 to .25 inch may require another binding technique.
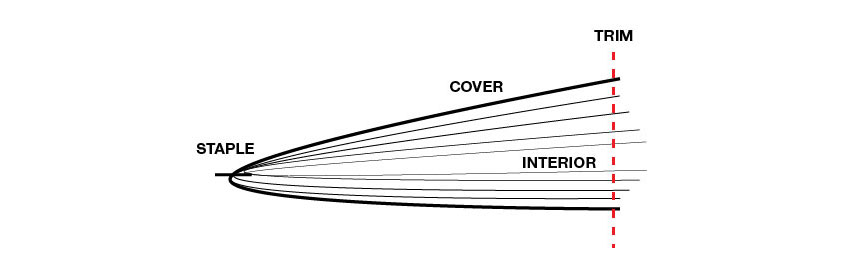
- May require special design adjustments for creep, especially small formats with high page counts
- I have decided to use a perfect bind rather than a saddle stitch because after research it seems most suitable for the publication I am making.
Perfect binding is commonly used for catalogs, directories and paperback books that have a higher page count. Pages are glued together at the spine with a strong, flexible glue. The cover is wrapped around the glued pages, and the brochure or catalog is then trimmed to its finished size.

Advantages of Perfect Binding
- Overall valuable look and appeal
- Printable spine
- Longevity
- Ability to creatively interleaf pages. Use a variety of paper weights, colors and finishes nearly anywhere you like.
Limitations of Perfect Binding
- Does not lay flat. You lose design space in the gutter area. (I will have to consider this when setting up the margins for the document so that all (or the most important part of a photo) content is visible
- Not suggested for applications in which hands-free reading is important (e.g., cookbooks or instruction manuals)
Paper sizes:

Above are the standard sizes for books, it is not necessary to stick to these dimensions however they are useful to know and also utilise as considerations for printing have already been considered in the sizes.


I cut out 11 of the sizes from the smallest to imperial as at this point I knew I wouldn't be needed a publication of that size. I then laid them all out and considered which size I would like to use. I decided on Crown (80v) as when portrait a double page spread would be able to be printed on a piece of a4 - keeping the cost of printing down as well as it being pocket/ small bag sized for travel.
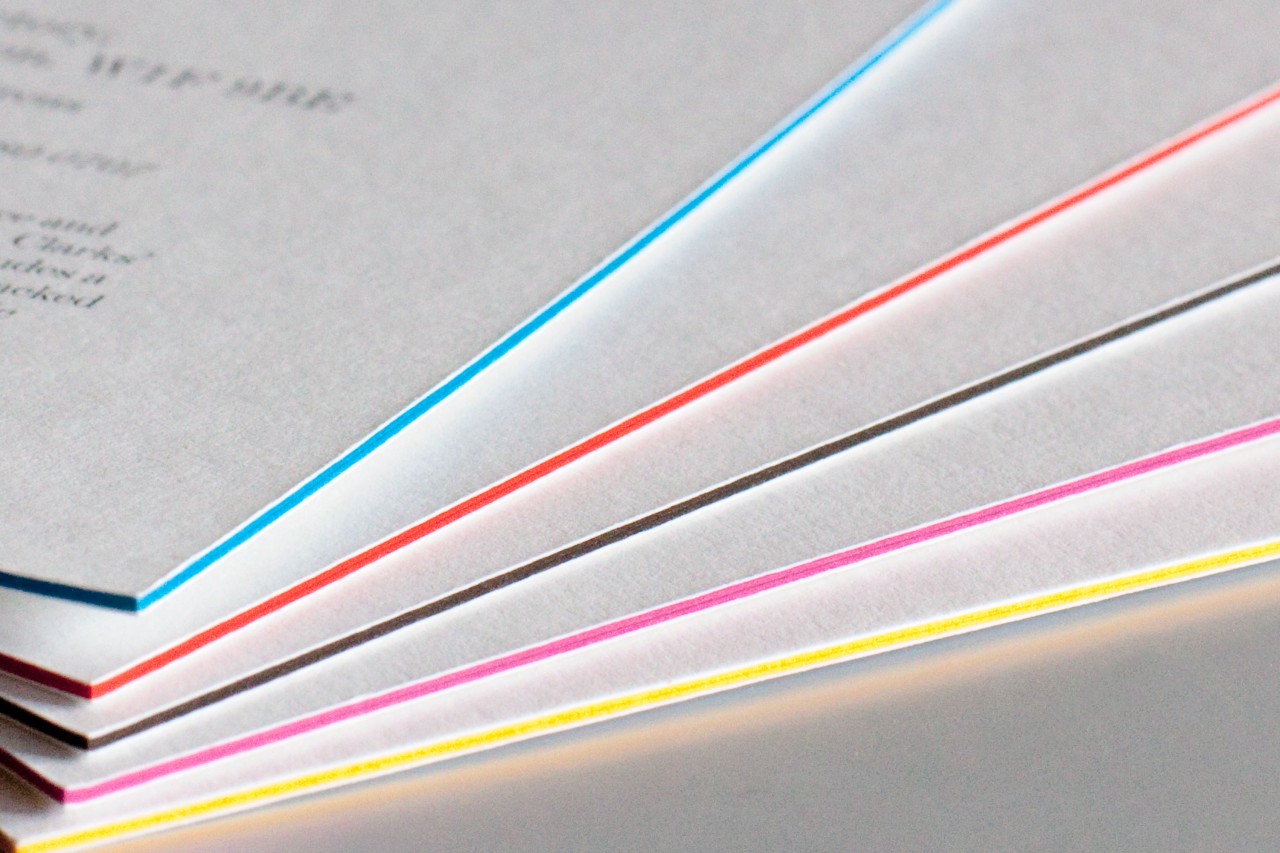
Finishes and specialist techniques
Duplexing:
Bonding two different stocks together to act as one page with different textures or colours on each side
Foil Blocking:
Coloured foil is pressed into the stock using a foil stamp

Embossing/Debossing:
Embossed refers to a raised surface and debossing refers to an indented surface.

Die-cutting:
A design is cut out of the surface using a metal die.
Laminate:
A plastic coating heat-sealed onto a stock to provide a crisp finish and a liquid resistant surface.
Varnish:
A colourless coating which can be applied similarly to spot colours. Varnish layers are often identified to the printer on a separate file using black to identify the varnish.
Printing and alignment
Black or 'registration' black
In offset lithography, black is one plate in the printing process (the K of CMYK)
Registration black is achieved by printing on all four plates, so will cost more.
Lithography:
This printing process uses plates (one for each colour) and ink is applied on the basis that oil and water repel each other. The ink from the plates is 'offset' onto a rubber printing surface before being applied to the paper.
- High-end publications that require attention to detail
Web:
Ultra-high volume printing often onto huge rolls of paper. Often uses flexography (relief) or rotogravure (intaglio- ink is inset into an engraving).
- for newspaper printing most commonly
Bleed:
'Full Bleed' images must be printed beyond the margin limits to ensure that white edges don't appear after trimming
Crop Marks:
Crop marks communicate the trim regions.
Tipped-in page:
A page that is printed separately but bound along with the other pages. Tip-ins can use different formats or different stock to the rest of the pages.
Tip-on:
Added content glued to a page or cover
Colour management
Good colour management ensures the accuracy of colour reproduction between different equipment and processes in print production.
Gamut:
RGB, CMYK and hexachrome (CMYKOG)
Gamuts describe how accurately particular systems can reproduce certain colours - RGB can reproduce approx. 70% of colours that the human eye can see (but only on screens)
If you use colour outside the printing gamut then the closest equivalent will be used which may change the overall design.
Colour profiles:
Pre-defined in relation to specific printing equipment and stock.
Pre-set colour profiles differ in Photoshop, Illustrator and InDesign as they assume different print requirements for each package.
Coated/Un-coated:
Paper coating provides a certain surface quality but can affect how ink is absorbed - how sharp the image will appear.
Process Colour:
CMYK - in offset lithography colours are applies using the CMYK gamut applied using half-tone dots.
Spot Colours:
- Spot colours must be defined in a colour to be printed lies outside the working gamut system.
- Spot colours must be defined within the image file (swatches) and in any conversations with the printer.
- Spot colours can be defined using the Pantone colour system as a reference - the Pantone codes will not look the same on screen as they do in print so use printed reference.
No comments:
Post a Comment